We would love to see what you’re creating! Want to share a project with us?
Click my finished project to fill in your project information and we will be in contact. Feel free to email us at mccmakerspace@gmail.com with any images and/or a video of your project idea in action!
Please allow one week for processing.
Browse through the projects below to see what we’re creating!
Project Name: 3D Printer Upgrades
Developer: Nick Dluge
Key Technologies/Equipment:
3D modeling C.A.D. program
3D printing using the Creality3D Ender-3 pro High Precision 3D Printer
Description:
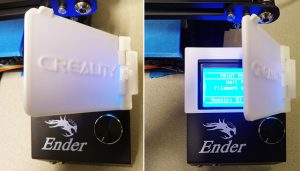
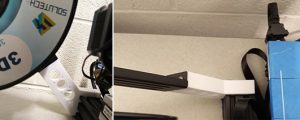
A screen cover was printed to protect the display on the printer. Then, a bracket was printed and added to change the location of the spool holder for the printer to take some load off the extruder to help facilitate good 3D prints.
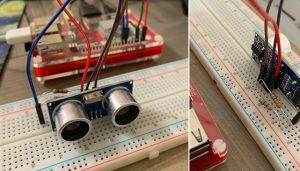
An ultrasonic distance sensor was used to measure the time it takes pulses of ultrasonic sound to bounce off nearby objects and reflect back. I attached the sensor to a breadboard connected to the Raspberry Pi board and wired the resistors and jumper wires from the breadboard to the Pi which set up the circuitry for the project. I used a Python script to detect distance and make sure the circuitry and Pi were functional and working correctly.
Following a successful test, I used Sonic Pi to receive the instructions from the Python script that tells the program what note to play. Sonic Pi is used in conjunction with a Python script to produce notes and it’s what creates the sounds of the ultrasonic theremin.
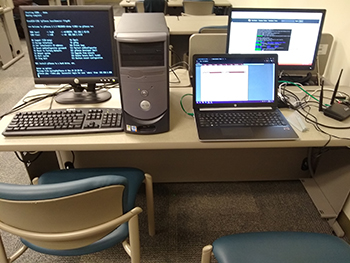
Multiple pieces of hardware including a desktop, a wireless router (D-Link wireless), and multiple network interface cards
Description:
pfSense is built on FreeBSD which is loosely Unix. It is a stateful firewall that can also do routing among other things especially if you consider the list of plugins like Snort for example, that scans packets. It is quite powerful software that allows you to turn a x86 computer of any sort into a router and/or firewall. With this you can even replace your router at home that you probably rent by the month from your ISP (example say Comcast or WOW) and save the monthly cost of renting a router.
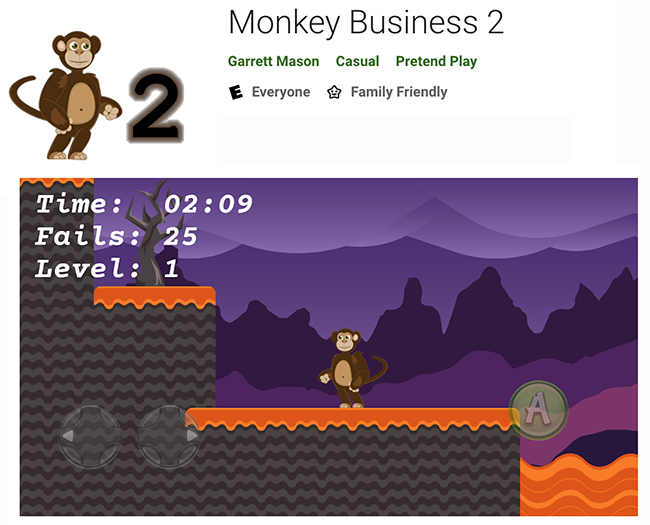
Monkey Business 2 is a sequel to Monkey Business (also available on Google Play) and can be downloaded to your Android device from Google Play. In this game you, the monkey, will be traveling through a volcano to defeat bosses with the anti-monkey being the final boss. There are 25 levels to explore. Have fun and enjoy playing Monkey Business 2!
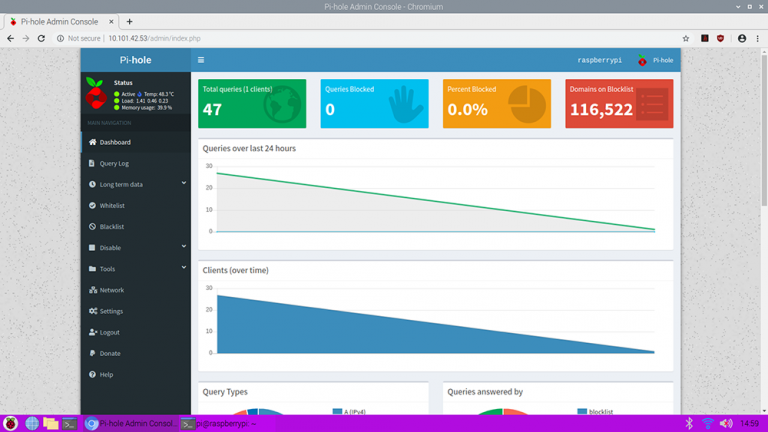
Pictured here is a view of the Web admin interface. This is an optional install for the Pi-hole software that can display stats on all the domains that are being queried on your network. It’s just one of its many uses.
3D printing using the Creality3D Ender-3 pro High Precision 3D Printer
Description:
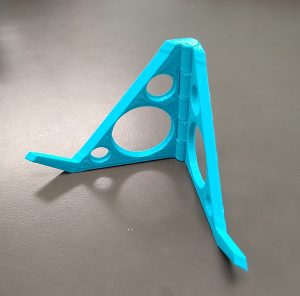
This is a small folding stand that can be used to hold a phone or tablet.
Small folding stand printed with the Creality3D Ender-3 Printer
Project Name: Laptop Upgrade
Developer: Nick Dluge
Key Technologies/Equipment:
Mechanical know how
Knowledge of laptop components
Description:
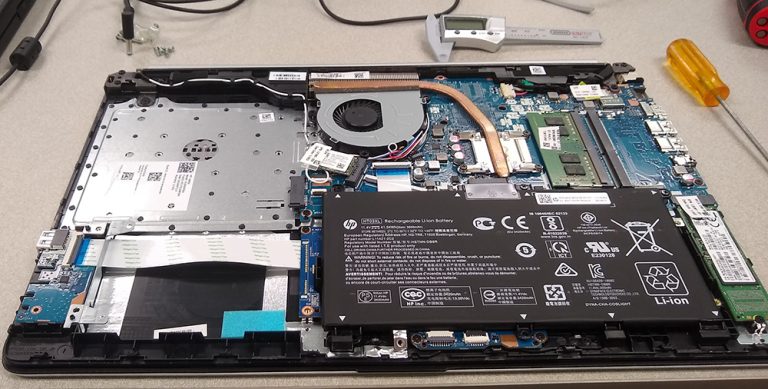
I upgraded my laptop with more storage space for some virtual machines between a M.2 slot , a SATA Slimline connector, and a 2.5 inch slot i was hoping had a header populated on the PCB (printed circuit board).
3D printing using the Creality3D Ender-3 pro High Precision 3D Printer
Description:
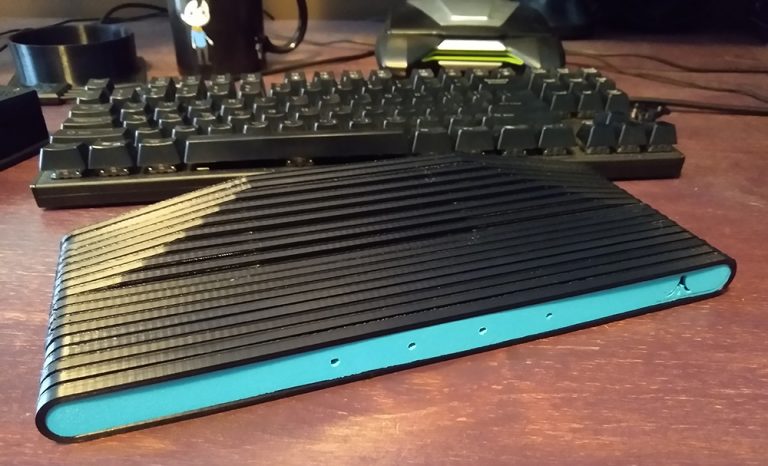
I liked the look of the new Atari VCS coming out in the first quarter of 2020. However, I really did not want to spend $250 to have a small form factor computer with a neat case so I printed my own look alike that is not truly to scale nor is it a direct copy. No monetary gain from the project here just a neat little case to sit on my desk at home.
Pi case modeled after Atari VCS printed with the Creality3D Ender-3 Printer
Project Name: Headphone Stand
Developer: Nick Dluge
Key Technologies/Equipment:
C.A.D. and 3D printing
Creality3D Ender-3 pro High Precision 3D Printer
Description:
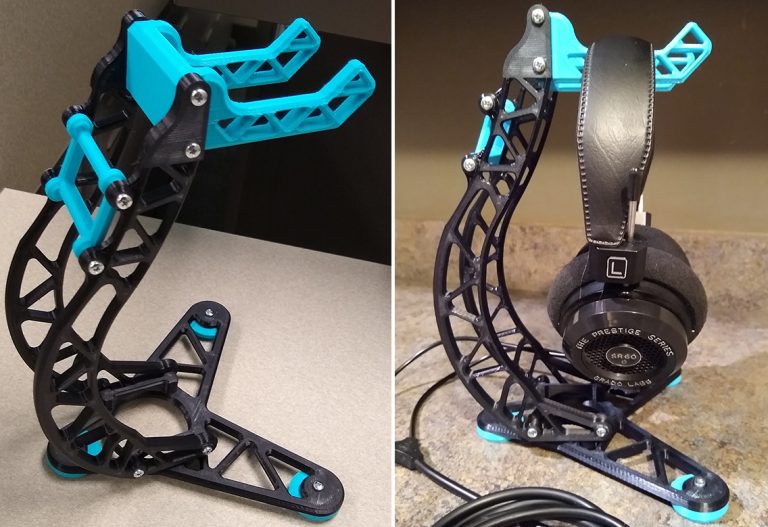
I decided to make a headphone stand to help organize my desk. The parts were printed on the Creality3D Ender-3 printer using PLA plastic and then assembled using M3 machine screws.
Headphone Stand printed with Creality3D Ender-3 Printer
ARM computer (Raspberry Pi , ASUS Tinker Board , PINE A64 , etc.)
Audio equipment: speakers & amp
Some extremely minor networking experience in some cases
Description:
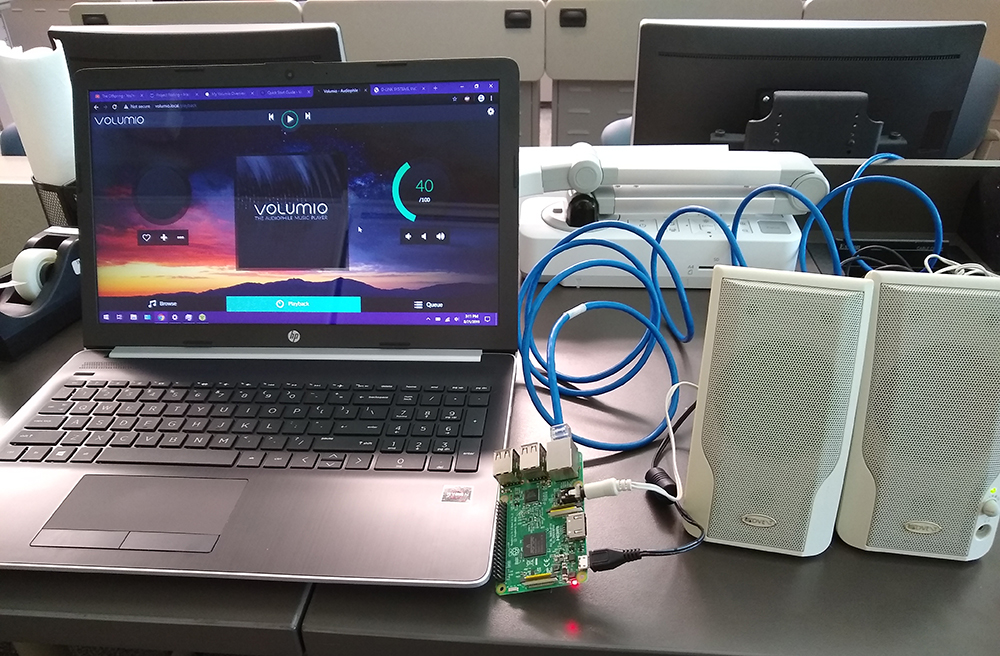
Digital audio player that can run Spotify, YouTube, or off local media (SD card, USB thumb drive , USB hard drive) controlled over the network on any internet connected device. Good use for extra audio gear you might have. Set it up, hop on your phone or laptop, etc., queue a playlist on the audio player, and listen to music while you work!
Digital Audio Player Setup
Project Name: Sit-up-O-Matic
Developer: Martin Kohl
Key Technologies/Equipment:
Raspberry Pi 3 Model B+
Sense HAT (Raspberry Pi)
Python
io (Cloud Control Panel for Raspberry Pi and Other IoT Devices)
Description:
A prototype was built of a sit-up tracking mechanism that uses the onboard accelerometer that’s build into the Raspberry Pi Sense HAT. By using the y and z axis on the accelerometer you can test whether a person is sitting or lying flat. While the person is lying flat, the count is set to zero and once a person sits up, the count increments by one. The data from the Raspberry Pi is sent to the cloud (website: Cloud4RPi.io) so the data can then be viewed online via the website.
Python code was used to push data to the cloud. Boilerplate Python code was located on the web, modified, and then tweaked for use. An 8×8 LED matrix display displays red when lying flat and green when in the upright position. A countdown timer prepares the user prior to the program starting its count.
An account with Cloud4RPi is required to set up a connection to the device and push data to the cloud. This is free! Documentation for set up and use is available on the Cloud4RPi website.
Want to take it a step further?
You could attach a battery pack to the Raspberry Pi and strap it to the body using duct tape and/or a chest strap (remember, this a prototype). You could build multiple prototypes and have a sit-up competition while your sit-up count is being sent to the cloud and appoint a referee that monitors the number of sit ups and then declares a winner!
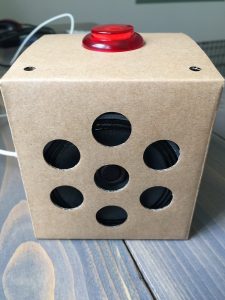
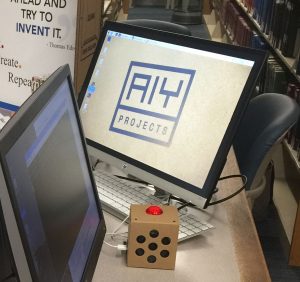
This AIY Voice Kit (Do-it-yourself artificial intelligence) from Google has all you need to build a Google Assistant! The kit comes with the necessary pieces needed to build the structure, all you need is to supply a monitor, keyboard, mouse, Micro USB power supply for your Pi, a Raspberry Pi. Please note that new version of the kit comes with a Raspberry Pi Zero WH already in included!
Google does an awesome job of providing the documentation on how to assemble the Voice Kit and how to get your Google Assistant up and running. A Google account is required in order to use the necessary APIs for the project. Instructions on how to enable the APIs within the Google Cloud Platform are provided in the documentation from Google.
There is a Maker’s guide section within the documentation for the AIY Voice Kit where you can take things a step further, learn more about the APIs used within the kit, the GPIO header pinout, GPIO expansion pins, how to build a custom voice user interface, and more! Start tinkering and see what you can create!